
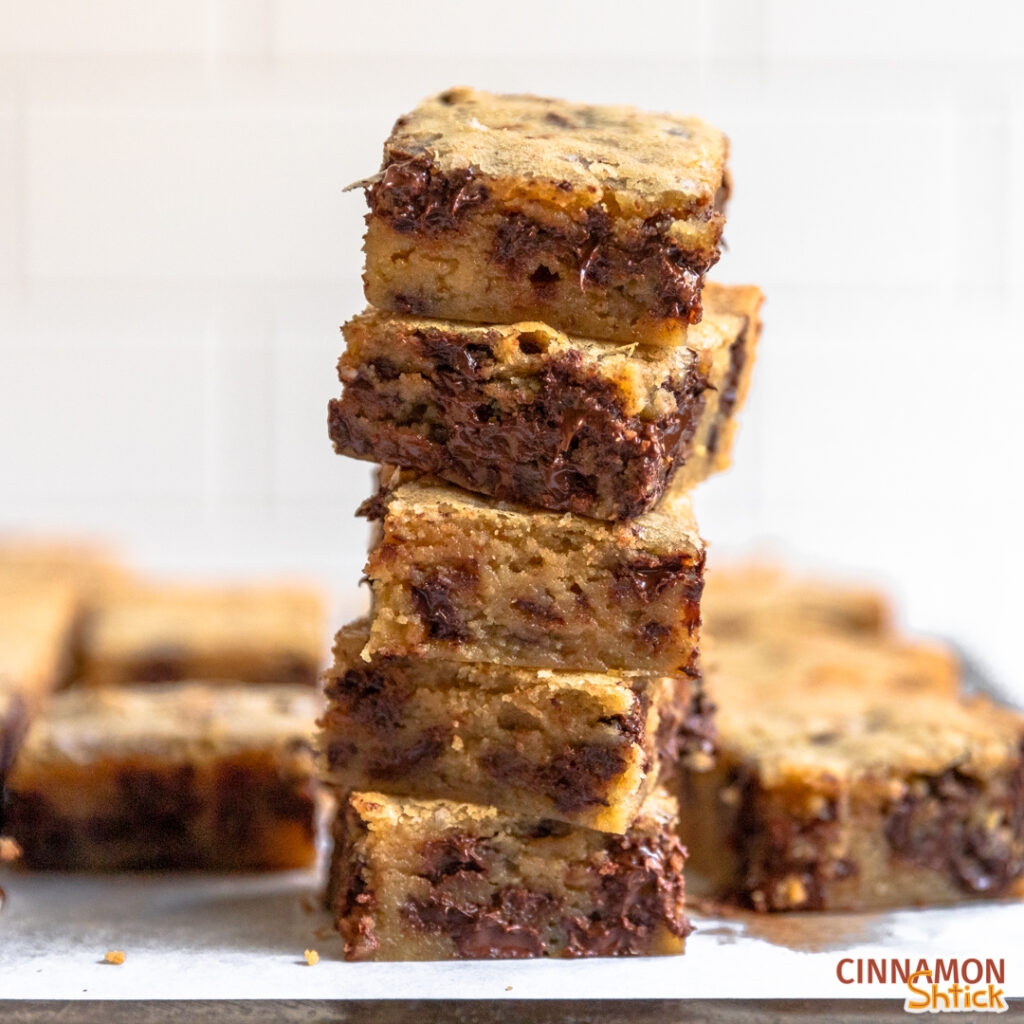

When it comes to indulgent desserts, few treats hit the sweet spot quite like Gooey Brown Butter Blondies. These chewy, caramel-rich bars combine the deep, nutty flavor of brown butter with the dense texture of a classic blondie, creating a dessert that’s both rustic and gourmet.
Whether you’re an experienced home baker or just discovering the magic of brown butter, this recipe is a must-try. In this guide, we’ll explore the history of blondies, the science behind brown butter, and step-by-step instructions to make your batch of gooey perfection.
What Are Blondies?
Blondies are often described as the vanilla counterpart to brownies. Instead of cocoa powder, they rely on brown sugar and butter to provide a rich, molasses-like sweetness and chewy texture. But the real magic happens when you swap regular butter for brown butter, unlocking a whole new world of flavor.
The Evolution of Blondies
- Origins: Blondies have been around since the early 1900s, predating brownies.
- Main ingredients: Brown sugar, butter, flour, eggs, and vanilla.
- Texture: Chewy with a slightly crisp crust.
Brown butter elevates the classic blondie by introducing toasty, nutty undertones, making each bite deeply satisfying.
Why Brown Butter Makes a Difference
What Is Brown Butter?
Brown butter, or beurre noisette, is butter that has been melted and cooked until the milk solids turn golden brown. This process adds a rich, nutty flavor and a deep amber color.
Benefits of Using Brown Butter
- Flavor Depth: Adds complexity that plain melted butter lacks.
- Aromatic Appeal: Offers a toasted, almost caramel aroma.
- Texture Improvement: Enhances chewiness and richness.
In a 2023 baking trends report, over 45% of professional bakers ranked brown butter as one of the top ingredients for elevating classic desserts.
Ingredients for Gooey Brown Butter Blondies
Here’s what you’ll need to make a batch of irresistibly gooey brown butter blondies:
Basic Ingredients
- 1 cup (226g) unsalted butter – browned
- 2 cups (400g) packed brown sugar – light or dark
- 2 large eggs – room temperature
- 2 teaspoons vanilla extract
- 1/2 teaspoon salt
- 1 teaspoon baking powder
- 2 cups (250g) all-purpose flour
Optional Add-Ins
- Chocolate chips or white chocolate chunks
- Toasted nuts (pecans, walnuts)
- A swirl of caramel or Biscoff spread
Pro Tip: Use dark brown sugar for a richer molasses taste and deeper color.
How to Make Gooey Brown Butter Blondies
Step-by-Step Instructions
Step 1: Brown the Butter
- In a saucepan over medium heat, melt the butter.
- Stir constantly until it foams and turns golden brown (about 5-7 minutes).
- Immediately remove from heat and let cool slightly.
Step 2: Mix the Wet Ingredients
- In a large mixing bowl, combine brown sugar and the warm brown butter.
- Stir until smooth.
- Beat in the eggs and vanilla extract.
Step 3: Add the Dry Ingredients
- In a separate bowl, whisk together flour, salt, and baking powder.
- Gradually fold the dry ingredients into the wet mixture until just combined.
Step 4: Add Optional Mix-Ins
- Gently stir in chocolate chips, nuts, or other additions.
Step 5: Bake
- Preheat oven to 350°F (175°C).
- Grease or line a 9×13-inch baking pan with parchment paper.
- Spread the batter evenly in the pan.
- Bake for 25–30 minutes or until the top is golden and the center is just set.
Step 6: Cool and Serve
- Allow to cool completely in the pan before slicing into squares.
- For extra gooeyness, slightly underbake and serve warm with ice cream.
Baking Tips for Perfect Blondies
Don’t Overmix
Mixing too much will create a cakier texture. Stir until ingredients are just combined.
Underbake Slightly
For a gooey center, pull the blondies out when the edges are set but the center still jiggles a bit.
Use Quality Vanilla
Pure vanilla extract or vanilla bean paste significantly enhances the flavor.
Variations to Try
1. Brown Butter Blondies with Sea Salt
Top with flaky sea salt before baking for a sweet and salty twist.
2. Espresso Brown Butter Blondies
Add 1–2 teaspoons of instant espresso powder for depth and a mocha-like flavor.
3. Brown Butter Biscoff Blondies
Add swirls of cookie butter (Biscoff spread) for an added touch of spice and richness.
4. Butterscotch Chip Blondies
Use butterscotch chips for a double hit of caramel flavor.
Serving Ideas
- A la mode: Top with a scoop of vanilla bean or butter pecan ice cream.
- Drizzled with caramel sauce: For added sweetness and moisture.
- Cut into mini squares: Perfect for party platters or dessert bars.
Blondies are incredibly versatile and make a delicious dessert for potlucks, birthdays, or just a cozy weekend treat.
Storing and Freezing
Storing
- Store in an airtight container at room temperature for up to 5 days.
- For a longer shelf life, refrigerate for up to 10 days.
Freezing
- Wrap individual blondies tightly in plastic wrap and freeze for up to 3 months.
- Thaw at room temperature or microwave in short bursts for a warm treat.
Nutritional Information (Per Blondie, Approx.)
- Calories: 290
- Fat: 15g
- Sugar: 23g
- Carbohydrates: 35g
- Protein: 3g
Keep in mind that values vary depending on add-ins and portion size.
Frequently Asked Questions
Can I use salted butter instead of unsalted?
Yes, but reduce the added salt by half to prevent the blondies from becoming too salty.
Why are my blondies cakey?
This usually happens when the batter is overmixed or overbaked. Aim for just-combined ingredients and check doneness at 25 minutes.
Can I make these gluten-free?
Yes! Substitute with a 1:1 gluten-free flour blend designed for baking.
Final Thoughts: The Ultimate Comfort Dessert
Gooey Brown Butter Blondies are a simple yet sensational treat that brings together the best of both worlds—easy to bake, yet packed with gourmet flavor. Whether you’re making them for a casual family gathering or to impress at a potluck, they’ll never disappoint.
Try the recipe, experiment with your favorite mix-ins, and share your results! If you loved these blondies, consider bookmarking the page or sharing it on Pinterest and Facebook to spread the sweetness.
Did You Try This Recipe?
Leave a comment below with your results, favorite add-ins, or tips! Tag your photos on social media with ClaraRecipes so we can see your delicious creations.